
We know that explainer videos are a useful tool for conveying ideas and messages to your audience. The visual graphics used in the videos create a good user experience for potential customers who visit your website or landing page. Needless to say, it has become an important marketing tool for businesses.
But how do you make use of such a potent marketing tool without burning a hole in your pocket? While not all forms of animations are expensive, and the price of your video depends on the complexity of your content- getting an animated video made professionally by the best video animation services can still be out of your reach. That’s why we created a list of budget-friendly resources that you can use to explore the medium and create your own explainer videos.
1. Figure out your video concept
Your concept creates the foundation for your video. Without a powerful concept, your video can lose its direction and become meaningless. Your video concept should be based on the core message you want your audience to take away and the reason you are creating your animated video. So first, figure out your concept, as this determines the other processes involved in the video production. And always ensure that you have only one concept so that your video blends cohesively into your core message.
2. Write a script
Next step is to write a script. This involves creating a storyline for your video. Good videos don’t exist without a solid storyline. A video without a script is like chaos. So you need to rein in your creativity and create a wonderful script that will capture your audience’s attention. While writing the script, specify the scenarios, characters’ interactions, dialogues, narrations, etc.
To write a script, you can always opt for tools that are easily available like Google Doc or Word Document. But if you need a more professional tool that is specific to scriptwriting, then you can use online tools like Celtx. With Celtx, you can format your script with ease and also collaborate with your colleagues to create an engaging script.
3. Create a storyboard
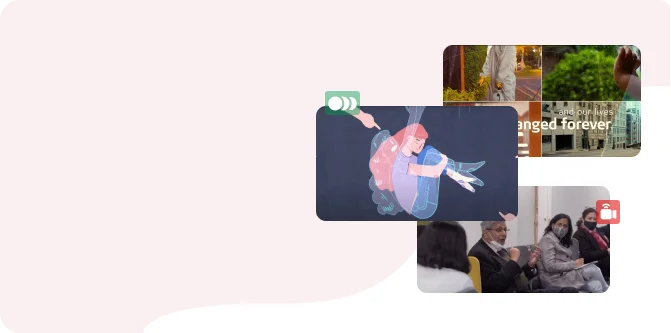
Storyboarding is an important step that gives life to your concept. Storyboards help visualise your script through a frame-by-frame illustration and are useful in determining your video’s aesthetic. It is a great tool to draw out what you have been envisioning in your mind. It acts like a comic of sorts and shows you exactly how the video will play out and what specific scenes must be added to give the video a finished look.
Boords is an online storyboarding tool that you can use to create your own storyboard. It provides users with a drawing tool, but if you’re not too keen on drawing, then you can also use the stock images provided to create your storyboard. The tool has a free plan, but animation video boards require you to get a freelance membership ($9 a month, billed yearly), which is comparatively inexpensive.
4. Illustrate your concept
Once your storyboard is created, you can illustrate the different scenes with a design software. The illustrations will include the background, the characters, and the objects, all in three separate layers. Combine the layers together and you will have the entire scene ready. Having separate layers helps to animate just one element without animating the other elements.
Obviously, professional design softwares like Adobe Photoshop or Illustrator can be used to illustrate your scenes. But the disadvantage of this is that you need to be subscribed to Adobe’s Creative Cloud. In addition to that, there is also a learning curve associated with these softwares. So, for some beginner-level illustrations, you can use Figma.
5. Animate your graphics
Now it’s time to bring your video to life! Using an animation software, animate your scenes. Don’t worry if it doesn’t exactly look right. You will get the hang of it soon. This is obviously the most important part of your video, but it is also the most difficult. Because most animation softwares aren’t exactly user friendly and would often have a steep learning curve associated with it. So you might have to watch a couple of tutorials before you create your animated videos.
One tool you can use to create animation is Harmony21. It’s a great animated video maker that allows you to experiment with motion, camera angle, layers, etc. Sadly, this is not a free tool. However, there is a 21 day free trial you can avail. After which you can receive a basic membership of $145 a year or $18 per month.
6. Record your narration/voice-over
Now to the part where you narrate and bring your script to life. This includes recording any dialogues or story narration in the video. This is an important step in the video-making process. The narration along with the visuals is what will draw your audience in. So if you have a powerful narration, then you will definitely hook your audience. Ideally, this is professionally recorded in studios to get the best audio quality. But since we are talking about a budget-friendly option, you can choose to record it yourself.
A useful tool that you can use to create your cartoon voiceover is Audacity. Audacity is a free, open-source platform that allows you to record, mix and edit your narration. It’s also a very user-friendly program.
7. Add background music and sound effects
Believe it or not, without background music and sound effects, your video will feel incomplete. Even a faint soft music in the background can elevate your video. And the addition of sound effects will make the experience much more enjoyable for your viewers.
It’s important to use royalty-free music so you don’t get copyrighted. And the best option for this is Epidemic Sound, which has a library of 90000 different sound effects and 35000 background tracks. While this is not free, it provides a 30-day free trial. Another option is using Harmony21, which also allows you to add tracks.
8. Finally, publish!
All that is left to do now is publish your masterpiece! Go on then, share it with the world.
We hope you got a glimpse of the different processes involved in creating an animated video. We can’t wait to see your creations with these budget-friendly tools. Don’t worry if you don’t get it right the first time. You’ll learn as you go and it will definitely become easier with practice. In case it’s too time-consuming and you’ve decided that creating an animated video is not for you, then you can always hire a video animation company like PitchWorx. Ready to create your video? Click here!